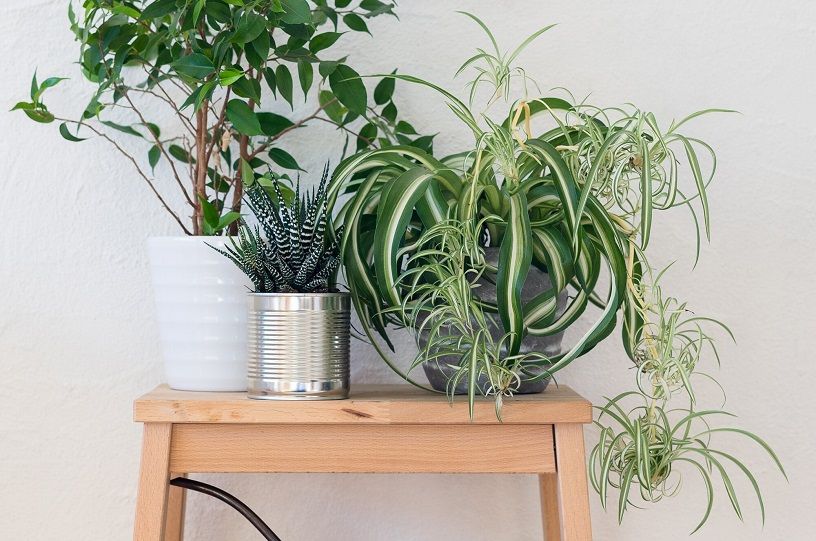
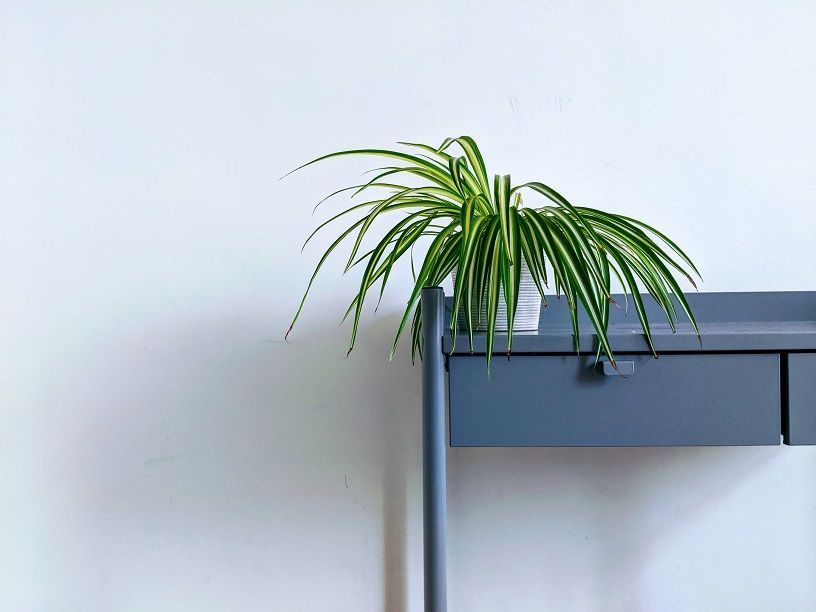
Spider plants are one of the most popular houseplants—and for good reason. Known for their long, arched foliage, the variety grows attractive solid green or green-and-white striped leaves. The low-maintenance plant can survive in a variety of conditions—especially when placed indoors—but really thrives in humid climates.
“Native to warm, humid, tropical conditions, spider plants thrive in temperatures between 10 and 29 degrees,” says Katie Dubow, president of Garden Media Group. “To mimic these conditions in your home, provide humidity with a mister or humidifier, and keep plants away from vents or drafty locations.”
While you certainly can grow a spider plant outdoors, there are stricter parameters to follow. According to Melinda Myers, gardening expert and host of the Great Courses How to Grow Anything DVD series, you must live in hardiness zones 9 to 11, and grow the plant in bright, indirect light or partial shade, in order to be successful in open air.
“Grow spider plants as annuals in colder regions—they make a nice ground cover or accent plant in gardens in milder regions,” she says. Since growing spider plants outside is typically more work, they are more commonly found inside homes, where their optimal growing conditions are easier to maintain.
How to grow a spider plant from seed
Spider plants are typically propagated through their small spiderettes; these appendages hang down from the main body of the plant—Dubow says they resemble spiders on a web—but many people don’t know that spider plants actually bloom and produce seeds. “Whether seeds are collected directly from the plant or purchased from a retailer, plant them right away,” Dubow says, noting that these seeds do not store well.
Start the process by sowing the seeds about a 1/2-inch deep in a healthy potting or seed-starting mix. “Keep the soil warm and moist until the seeds germinate. This typically takes a few weeks, so be patient and keep an eye on the dirt to make sure it does not dry out,” Dubow says. Once baby leaves emerge, give the seedlings time to establish true leaves before repotting. Growing a spider plant this way takes more time than going the spiderettes route, but it is a rewarding process.
How to care for a spider plant
Like most plants, spider plants have a few specific water, light, and soil requirements for optimal health.
Water
Since spider plants like humidity, they thrive in moist environments. “Water thoroughly so excess runs out the bottom—this encourages a robust root system,” Myers says. When first adjusting your spider plant to a watering routine, Dubow recommends starting by hydrating the plant once per week; then, adjust as needed. This will prevent the soil from becoming too soggy, which may cause root rot.
You’ll know your plant needs more water if you submerge a finger in the soil and the top inch is dry. “Typically, in the winter, you will need to reduce watering to every other week,” she says. Additionally, spider plants are sensitive to fluoride and chlorine, which are often found in tap water, so use rain or distilled water to hydrate them. If you don’t have access to this water type, Dubow says to let tap water sit in an open container for 12 to 24 hours before applying it to your spider plant.
SHOP WATERING CAN & PLANT MISTER HERE
Light
When kept indoors, spider plants require bright, indirect light that is directly in or near a north, east, or west-facing window (or under artificial light). “They will tolerate lower light, but variegated—those with striped leaves—varieties will lose variegation if grown in too low a level of light,” Myers says. If they’re grown outdoors, place them in a partially sunny or shaded spot. “Too much direct sun can scorch the leaves, whereas too much shade can result in thinner plants,” Dubow says. “Some varieties can tolerate heavy shade, but will not thrive as well.”
Fertilisation
Spider plants respond well to basic, all-purpose, water-soluble fertilisers. “Well fertilised plants will be more robust,” Dubow says. It’s important, however, not to over-fertilise your plant, which can result in salt build-up in the soil. Myers says to fertilise between March and November when the plants are actively growing to promote faster and larger expansion. “Consider using a diluted solution—you can always add more,” Myers says. She recommends using your growth rate and goals as your guide, but notes that fertilising every three to four months is usually sufficient.
SHOP ORGANIC FERTILISER FOR PLANTS HERE
Soil
Use well-draining soil that has a looser structure for your spider plants. “They are tolerant of both acidic and basic soil pH, but do best in soil with a pH closer to neutral,” Dubow says. “Whether you grow them in a container or in the ground, be sure the soil has good drainage, since salt build-up can cause the leaf tips to burn.”
How to propagate a spider plant
Although spider plants do not need to be pruned, they can be propagated. “Each little spiderette will begin to produce its own roots while on the stalk,” Dubow says. “Once roots are about 3/4- to 1-inch long, remove the spiderette and plant it into its own small container.” Then, Myers says to keep the potting mix slightly moist and wait for additional roots to develop. After a few weeks, give the plantlet a gentle tug. “If it resists, it has rooted into the soil,” she says, adding that you should keep spiderettes in a bright location—but out of direct sunlight—and move them next to the parent plant once rooted. Pups also require more frequent watering than mature spider plants due to their smaller root systems, so check the soil’s moisture levels frequently.
Alternatively, you can allow the spiderettes to continue to grow on the parent plant until it roots and naturally separate. To do so, Myers says to place the plantlet on the soil’s surface and keep it slightly moist, not wet, and wait for roots to form.
How to identify and fix problems with spider plants
Despite being relatively easy to care for, there are a few common issues spider plant parents run into. However, they’re easy to remedy with some forward-thinking.
Leaf browning
One of the most common issues you will run into when raising a spider plant is browning leaves, which can occur for a few reasons. Brown leaves are likely caused by watering the plant with water straight from the tap, rather than diluted or distilled, as spider plants have a sensitivity to chlorine and fluoride. Additionally, overly-dry soil can also cause rusty tips. If you notice the soil is dry whenever you put your finger in it, Myers recommends adjusting your watering schedule. Finally, over-fertilisation can cause discolouration and leaf browning. “Leach the soil to wash out salts, water thoroughly, and wait 20 minutes. Repeat two more times—then avoid over fertilising the plant in the future,” Meyers says.
If you don’t like the way the residual brown leaves look, you may want to consider pruning your spider plant—although it isn’t necessary. “Make sure to use clean, sharp pruners to make a precise cut so you don’t damage the plant,” Dubow says.
Root Rot
As is the case with most houseplant varieties, over-watering a spider plant can lead to root rot, which is caused by soil that remains wet for too long. “Though the plants prefer warm, moist soil, it is best to not allow the soil to become overly saturated,” Dubow says. “Monitor soil moisture before watering.”
Bugs
Spider plants are also susceptible to mealy bugs—as many houseplants are—which can suck out the sap from your plant. “Inspect the plant for any infestations and remove the pests when able,” Dubow says. “For larger infections, apply insecticidal soap or neem oil using a handheld sprayer. Always be sure to read labels before applying any chemical products.”