Squash arches and other types of garden arches can be built from a variety of materials and employ a wide range of design options. When it comes to the design of an arch, a wide variety of options are available. We go over the steps required to build a conventional arching trellis, ideal for climbing plants and flowers. It’s a great place to begin, and you can build it yourself with little effort.
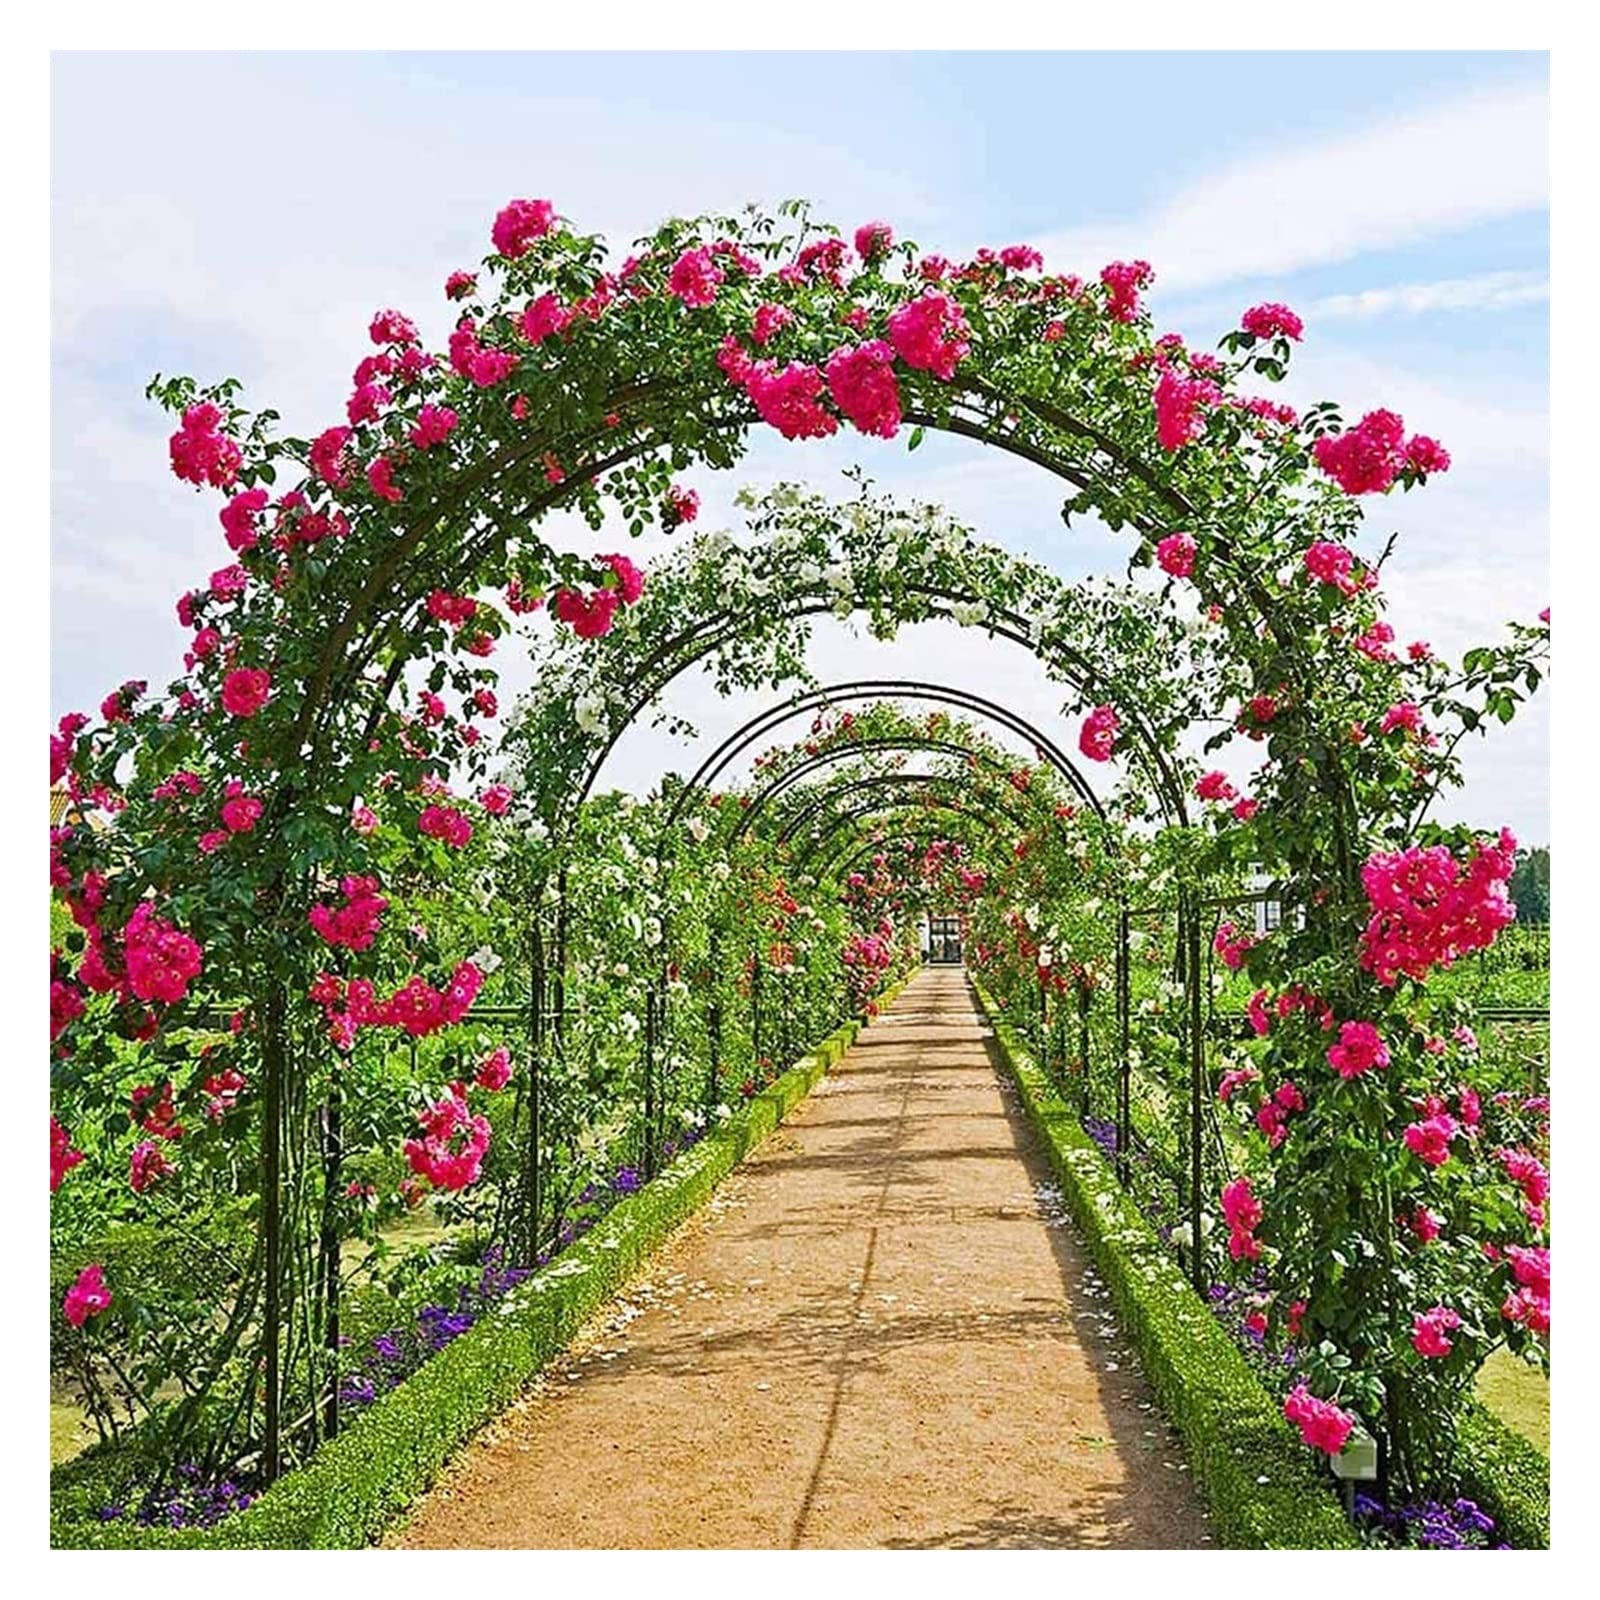 Building a Metal Garden Arch Trellis
Complexity: Beginner
Duration: 1 full day
Tools:
- Tape measure
- String
- Rubber mallet
- Hacksaw
- Marker
- Conduit bender
Materials:
- Two ⅜” x 20’ rebar lengths to be used for circles
- Two ½” x 20’ rebar lengths for arches
- Plastic garage door stop molding/stiff bendable material
- One ½” x 10’ rebar length for stakes
- 18-gauge copper wire
- Cable ties
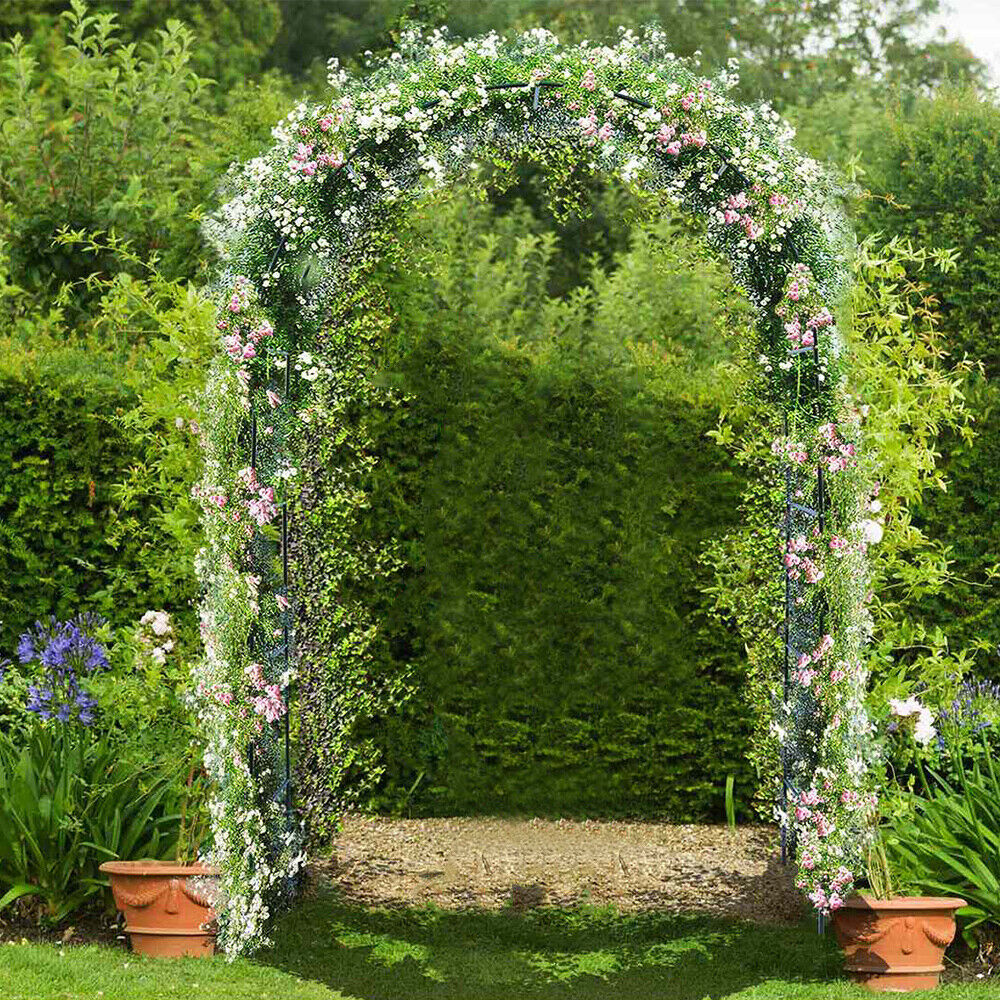 These proportions are 7 feet in height and 6 feet in length. Both arches are formed from rebar that is 20 feet in length and bent into a U shape. Once constructed, copper wire is used to attach the arches to rebar circles. This garden arch doesn’t call for any welding or upkeep on your part.
- Steps for Building a DIY Garden Arch
Cut rebar into stakes. For a swooping arch from your ½” rebar, create a bending jig on the ground. Cut 10’ lengths out of the ½” rebar. This will create the 10” stakes. Saw two-thirds of the way through the rebar using a hacksaw, then snap off the stake. - Use chalk to make the arc. Drive one of the rebar stakes into the ground. Tie a 3’ string to it. When the string is pulled taut, a compass will be created, generating a smooth arc using chalk. Mark it at a three-foot radius arc using your string to guide your chalk bottle. This will act as your template.
- Drive the stakes into the arc. Place nine stakes evenly around the semicircle you just created. Drive each of them down five inches. Mark your middle stake using a string. The radius will create an arch spanning six feet. It can be made smaller or larger if you desire. However, bending ½” rebar using a two-foot radius can prove difficult.
- Bend your rebar into the proper shape. The material may kink once bent, so insert a cushion (nine-foot plastic garage door stop molding) between the stakes and rebar to soften the bend. Other flexible yet firm items can be used, such as a flexible hardboard for cushioning.
- To bend the arches, hold rebar at both ends while forming it to keep the appearance smooth. The rebar must be centered using the middle stake, then pushed around the ends with the semicircle.
- Overbend the rebar slightly as the ends spring back when released. Don’t worry about how much you overbend as the arches will form the correct radius once they’re on the ground.
- Generate your circles using a conduit bender. Arches are linked together using circles bent from the ⅜” rebar. This section is cut into 4’ sections, then bent into a circle with ½” conduit bender.
- Work on solid surfaces and fit one end of the rebar to the lip of the bender. A curve is formed by pulling down the handle and pressing on the tool with your foot. Shift your bender and continue to bend the rebar until a full circle forms. It will be 12” in diameter.
- Cut off extra rebar. Don’t be concerned if your circles aren’t perfect. Minor defects are minimized once wired into the arch and they’ll be completely hidden once greenery grows. Repeat the process until nine circles are formed.
- Assemble arches and begin holes for anchors. Locate the perfect spot in the yard for the trellis, then begin to lay out its footprint. Position anchor holes for your trellis six feet apart; there should be 12 inches between the arches. Drive in stakes to mark the holes, then remove them.
- Place your trellis into the ground. To keep the trellis stable and secure, each arch must go down at least 18 inches. The easiest way to do this is to measure each of the legs, then place tape at the 18-inch mark as a guide. With an assistant, press both ends of the two arches into the ground. Drive the stake only partway down to start.
- Tie circles to the arches using copper wire and zip ties. Add the ⅜” rebar circles to the archway. They should begin two feet from the bottom. If placed lower, you may be inviting children to use it as a ladder. Once it’s in position, use cable ties to secure them in place temporarily. The cut ends should all be against one arch. Later, they will be covered by a wire wrap.
- Place remaining circles evenly around the arch. They should be six inches apart. Cable ties will allow you to easily reposition them if necessary for the best look prior to permanently wiring them into position. Once positioned, wrap copper wire around the circle joint and arch. There is no specific recommended technique, but you should use two feet of an 18-gauge copper wire. Bind it tightly and extend two inches along the joint for stiffness.
- Tap wire ends flat to your rebar. Once the circles are attached, the trellis is ready for flowers and creeping vines. This will add dimension and height to the outdoor space.
- If the soil is hard, you may not be able to push your trellis directly into your ground. If this is the case, you may need to plant rebar arches using a pipe. This is done by driving an 18” length of ¾” galvanized pipe almost fully into the ground.
- Pull out the pipe. Poke the dirt from the inside of the pipe until it opens. Then, you can push the ¾” pipe into the hole until it is flush with the ground. Lastly, insert arch ends into your pipe.
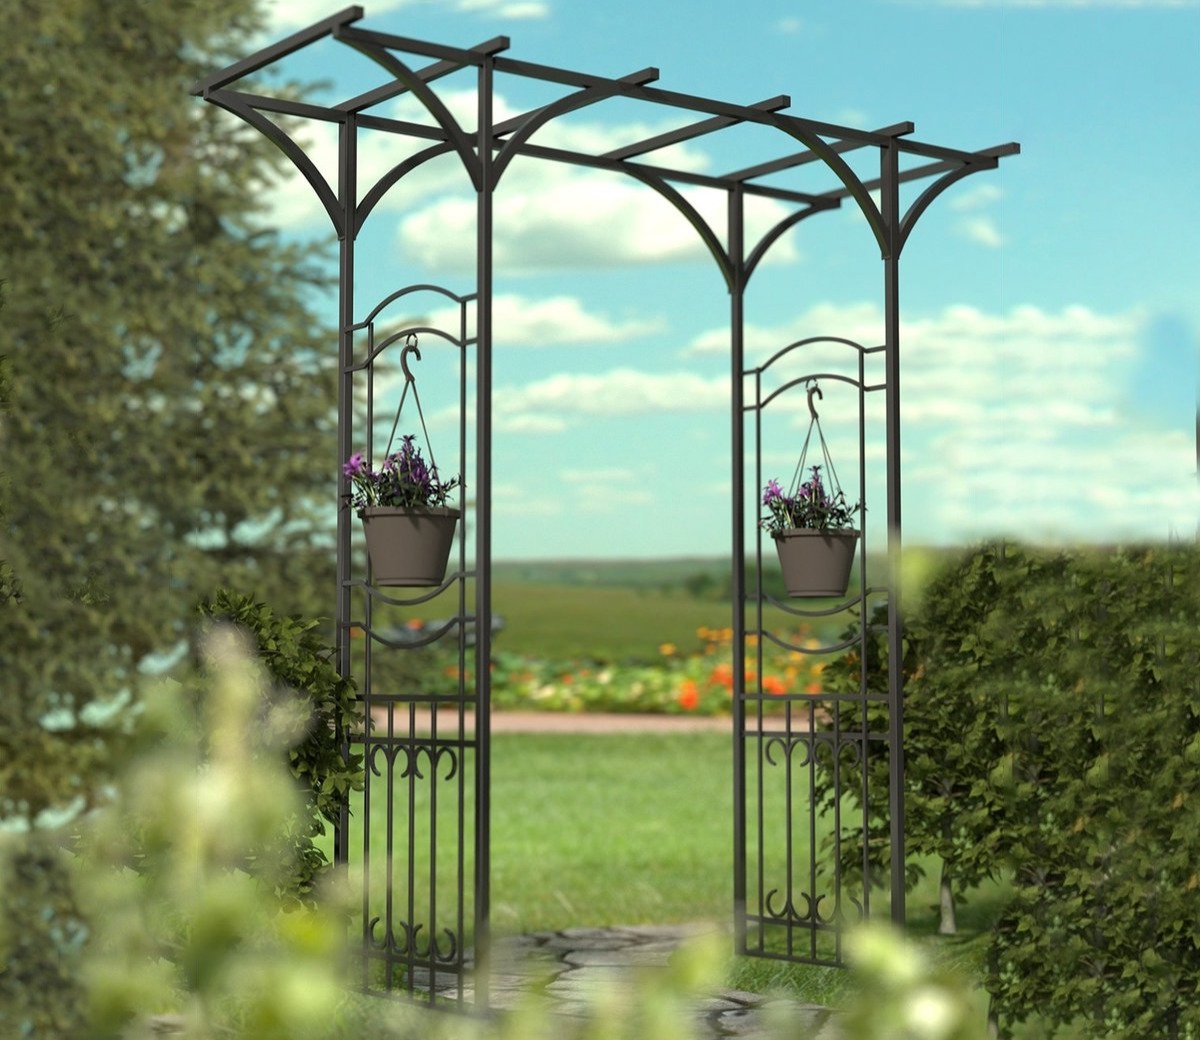 Don’t stress too much if your homemade garden arch turns out a little wonky. The longer it is driven into the ground, the more stable it will look. To avoid making a lopsided mess, refrain from correcting them. The circles can be attached indefinitely. When completed, it will be aesthetically pleasing.
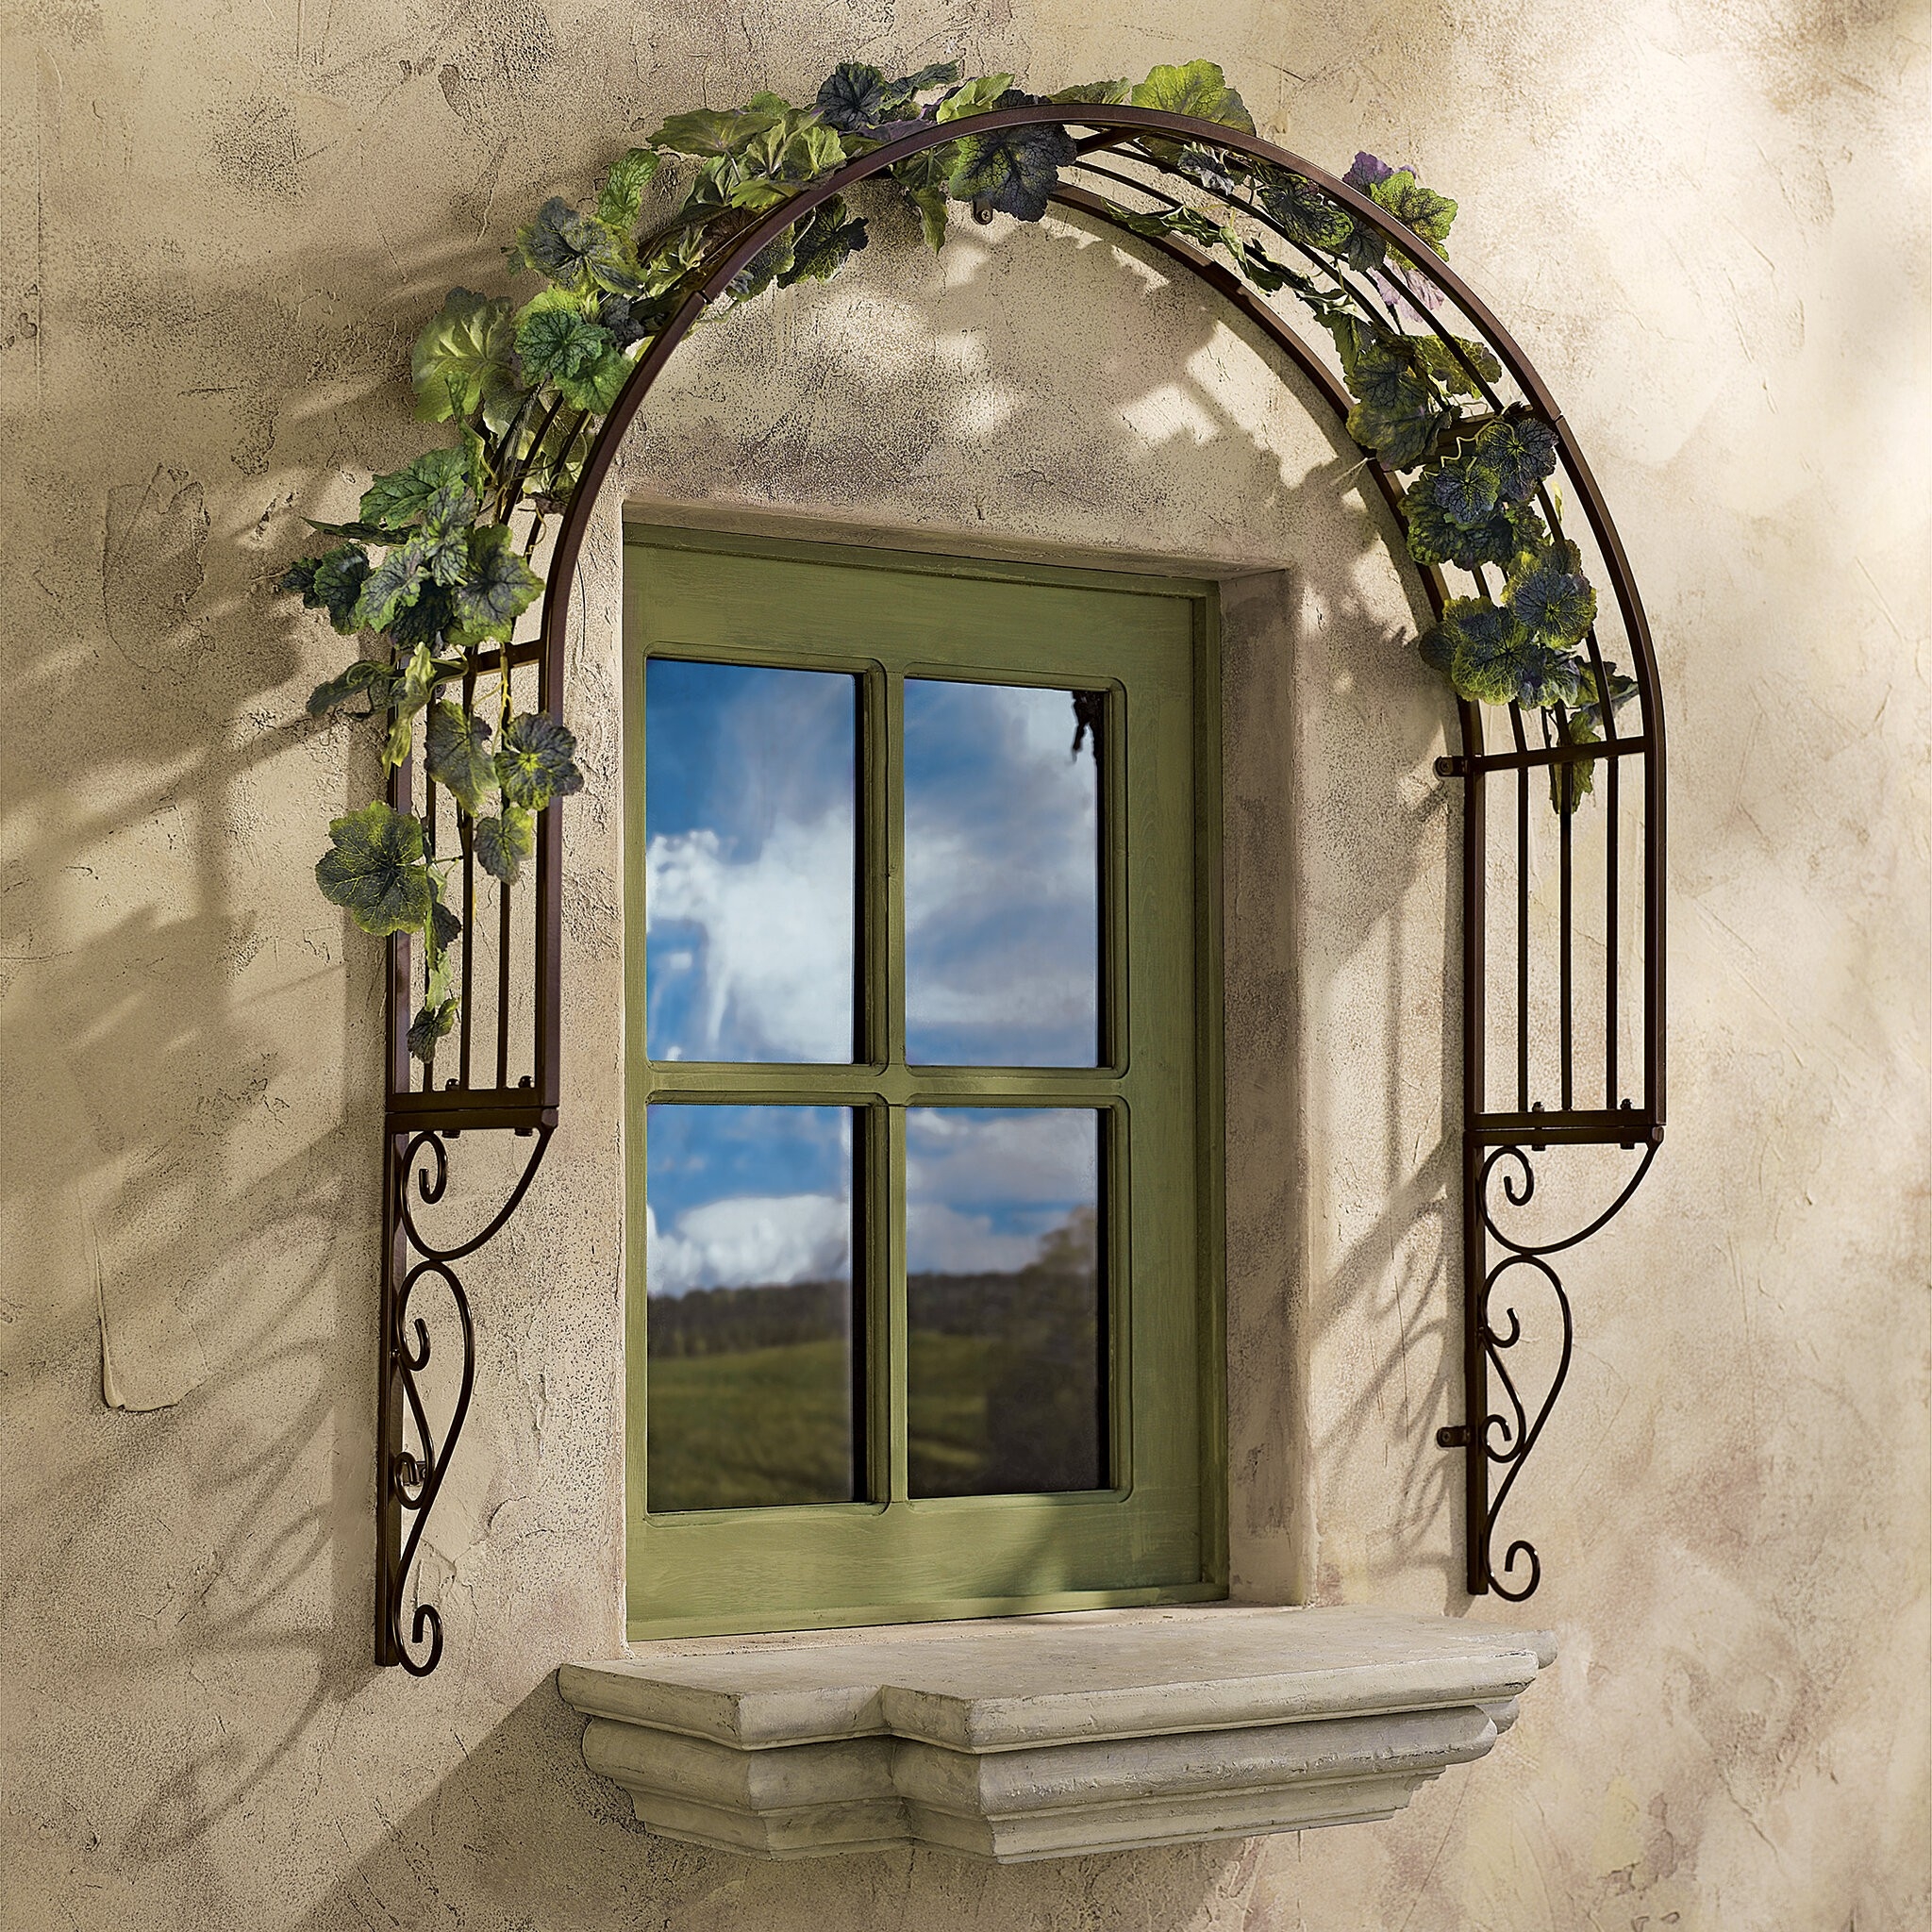 This DIY garden arch has a classier aesthetic than the average, but it’s still a work of art. Rebar is considerably more flexible than wood pieces, so it’s a little more forgiving if you make a mistake.
Wood is another common material for arches. These are just as lovely, but you might have to start over if you mess up the cutting. If it isn’t ideal, rebar allows for minor adjustments. You should avoid being too picky, as a flurry of actions may backfire.
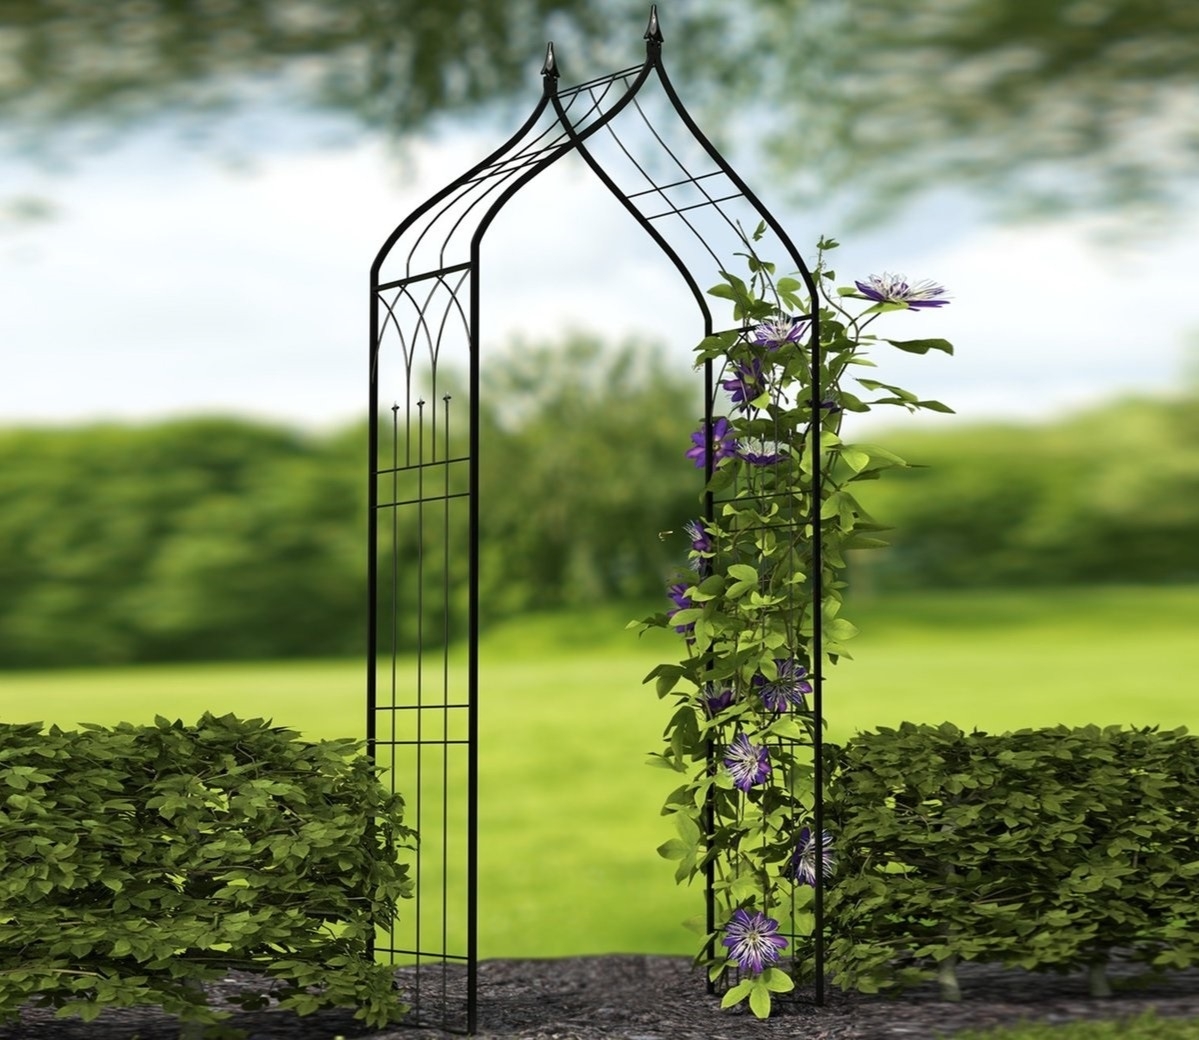 After putting up the trellis and weaving the plants or flowers through it, you may relax and enjoy your hard work. You can enjoy it for a long time if you keep winding the plants as they expand.


